
Are you thinking of giving your bathroom in Detroit a stylish makeover? One of the best ways to achieve this is by installing a beautiful bathroom vanity. Bathroom vanities not only enhance the aesthetic appeal of your bathroom but also provide much-needed storage space. In this guide, we’ll walk you through the process of installing Bathroom Vanities Detroit homes, with a focus on Mont Surfaces.
Step 1: Planning Your Bathroom Vanity Installation
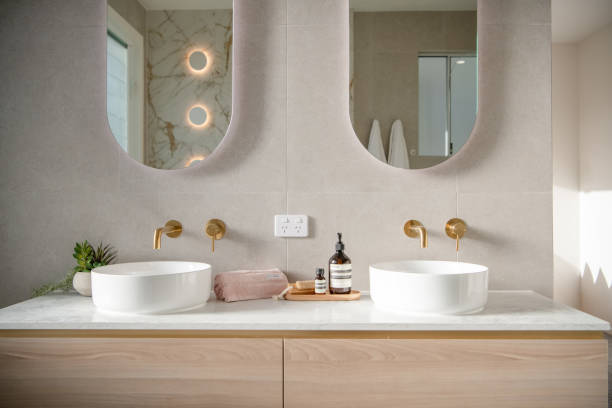
Before you start installing your bathroom vanity, it’s essential to plan everything out. Measure the available space in your bathroom to ensure the vanity you choose will fit comfortably. Consider the layout and design of your bathroom as well as your personal style preferences. Mont Surfaces offers a wide range of Bathroom Vanities options in Detroit, so you’ll have plenty of choices to find the perfect one for your Detroit home.
Step 2: Gather Your Tools and Materials
To install your bathroom vanity, you’ll need some basic tools and materials, such as a screwdriver, level, tape measure, drill, and anchors. Mont Surfaces may provide installation instructions or recommend specific tools for their products, so be sure to check their guidelines.
Step 3: Remove the Old Vanity (if applicable)
If you’re replacing an existing vanity, start by disconnecting the plumbing and removing the old vanity. Turn off the water supply and disconnect the drain and water lines carefully. Once the old vanity is out of the way, you’ll have a clean slate to work with.
Step 4: Assemble Your Mont Surfaces Vanity
If your Mont Surfaces vanity comes unassembled, follow the provided instructions to put it together. Make sure all parts are securely attached, and the doors and drawers function correctly.
Step 5: Install the Vanity
Place your Mont Surfaces vanity in the desired location in your bathroom. Use a level to ensure that it is perfectly straight and level. Once it’s positioned correctly, secure it to the wall using the appropriate anchors and screws. This step is crucial for stability and safety.
Step 6: Connect Plumbing
Carefully reconnect the plumbing. Attach the faucet, drain, and water supply lines to your Mont Surfaces vanity. Double-check for any leaks and make sure everything is secure.
Step 7: Finishing Touches
With your Mont Surfaces vanity securely installed and the plumbing connected, it’s time for the finishing touches. Add any hardware, such as knobs or handles, to your vanity to enhance its appearance. You can also caulk around the edges to ensure a clean and waterproof seal.
Step 8: Enjoy Your New Bathroom Vanity
Once you’ve completed these steps, step back and admire your newly installed Mont Surfaces bathroom vanity in your Detroit home. Not only does it add a touch of elegance to your bathroom, but it also provides practical storage space for your essentials.
In conclusion, installing a bathroom vanity in your Detroit home can transform your bathroom’s look and functionality. Mont Surfaces offers a variety of stylish options to choose from, making it easier than ever to upgrade your bathroom. Just follow these simple steps, and you’ll have a beautiful and functional bathroom vanity that you can enjoy for years to come.