
Introduction:
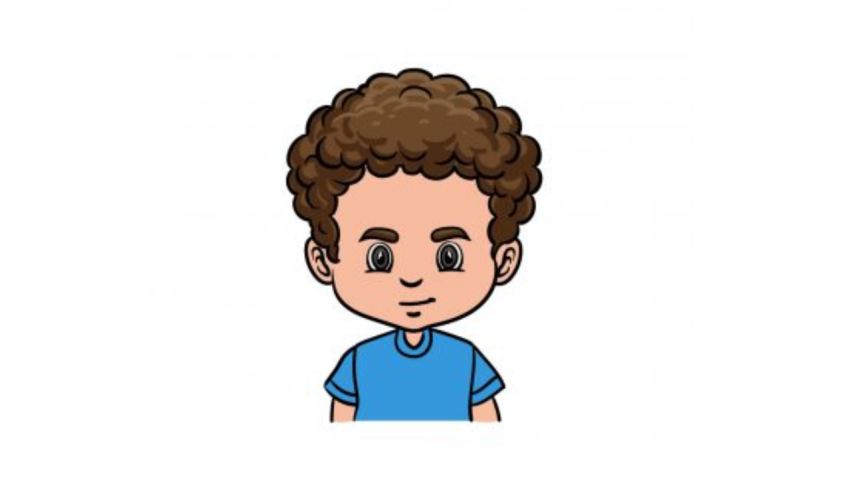
Draw Curly Male Hair: While drawing reasonable representations, one of the most difficult perspectives is catching curly male hair’s interesting surface and stream. Curly hair adds character and profundity to an individual’s appearance, and excelling at portraying it can improve your imaginative abilities enormously. In this bit-by-bit guide, we will walk you through the most common way of drawing curly male hair, from understanding the essentials of curly hair construction to adding perplexing subtleties that rejuvenate your craftsmanship. Also, check out Turkey coloring pages free.
Grasping the Fundamentals
Before jumping into the drawing system, understanding the basics of curly hair is fundamental. Curly hair contrasts with straight hair in its design. It is described by its winding or wave-like example, which results from the state of the hair follicles. The twists can change from free waves to tight loops, each requiring a marginally unique methodology in your drawing.
Stage 1: Illustrating the Head and Hairline
Start by drawing an essential layout of the head. This will act as the establishment until the end of the drawing. Focus on the extent and state of the head, as they will impact the hair’s general look. Whenever you’re happy with the head shape, frame the hairline. Recall that the hairline can differ in light of the singular’s age and hairdo.
Stage 2: Planning the Twists
Curly hair frequently shapes particular areas or clusters of twists. Begin by delicately outlining the overall areas where these segments will be. Recall that curly hair will generally have more volume, so the hair will seem more full than straight hair. Utilize free streaming lines to outline the twists, keeping a feeling of haphazardness in their game plan.
Stage 3: Adding Volume and Surface
Center around adding volume and surface to give the twists a reasonable appearance. Utilize bent lines to demonstrate the heading of the twists. Recollect that twists can cover and interlace, so go ahead and let them stream into each other. Utilize shifting line loads to make profundity and aspect in the hair. Obscure a few lines to address regions with more shadow and keep others lighter to portray features.
Stage 4: Characterizing Individual Twists
Curly hair includes individual twists, each with an interesting shape and size. Take time to characterize these singular twists inside the bigger segments you’ve illustrated. Utilize a blend of bent lines and little twistings to show the twisting idea of each twist. Explore different avenues regarding twist shapes to accomplish a characteristic and fluctuated look.
Stage 5: Adding Subtlety and Profundity
To upgrade the authenticity of your drawing:
- Center around adding subtleties and profundity.
- Utilize cross-bring forth or texturing methods to make shadows and features.
- Consider the region where the hair covers the scalp and the hairline, as these are pivotal for a persuading depiction of curly hair.
- You’ll make a feeling of profundity and aspect via cautiously concealing and adding surface to these areas.
Stage 6: Refining and Mixing
At this stage, make a stride back and survey your drawing. Search for regions that need refinement or mixing. Curly hair frequently has a delicate, finished appearance, so utilize your mixing devices, whether pencils or computerized brushes, to tenderly streamline any cruel lines. Recollect that accomplishing a harmony between construction and non-abrasiveness is vital to catching the quintessence of curly hair.
Stage 7: Settling the Subtleties
As you approach the last phases of your drawing, focus on the subtleties. Center around individual strands, flyaways, and other subtleties that add to the authenticity of curly hair. Make sure to use various strategies to reproduce the many-sided designs of curly hair. This scrupulousness will raise your fine art.
Stage 8: Embracing Blemishes
Embracing the blemishes and regular abnormalities of curly hair is significant. Few of every odd twist should be impeccably characterized; a few strands could appear more boisterous than others. These defects add legitimacy to your drawing and mirror the normal variety of curly hair.
Stage 9: Adding Aspect with Features
Adding features is one of the last contacts to genuinely rejuvenate your curly male hair drawing. Features assume an essential part in upgrading the three-layered appearance of the hair. Recognize the regions where light would normally raise a ruckus around town, like the tops and edges of the clusters. Utilize an eraser or a white pencil (if dealing with paper) or a lighter tone (if working carefully) to add these features cautiously. This step will make the twists pop and add authenticity to your fine art.
Stage 10: Making Differentiation and Profundity
Focus on the general differentiation in your attraction to underscore the curly hair’s surface and profundity. Obscure the shadows between the twists and the regions where the hair covers to make a feeling of profundity. Differences can significantly upgrade the visual effect of your drawing, causing the twists to appear more articulated and reasonable.
Stage 11: Adjusting the Piece
As you finish your curly male hair drawing, survey the general structure. Guarantee that the hair supplements the remainder of the representation and doesn’t overwhelm different components, like the facial elements or the foundation. Change the overshadowing, differentiation, and subtleties to keep an agreeable equilibrium inside the craftsmanship.
End:
Excelling at drawing curly male hair requires practice, perception, and a sharp comprehension of its interesting qualities. By following this bit-by-bit guide, you’ll be exceptional to catch the excellence and intricacy of curly hair in your pictures. Recollect that persistence and devotion are vital; each drawing you make will add to your development as a craftsman. In this way, get your pencil or pointer, and set out on the thrilling excursion of rejuvenating curly male hair on paper or screen. For more information, please Click Here!