
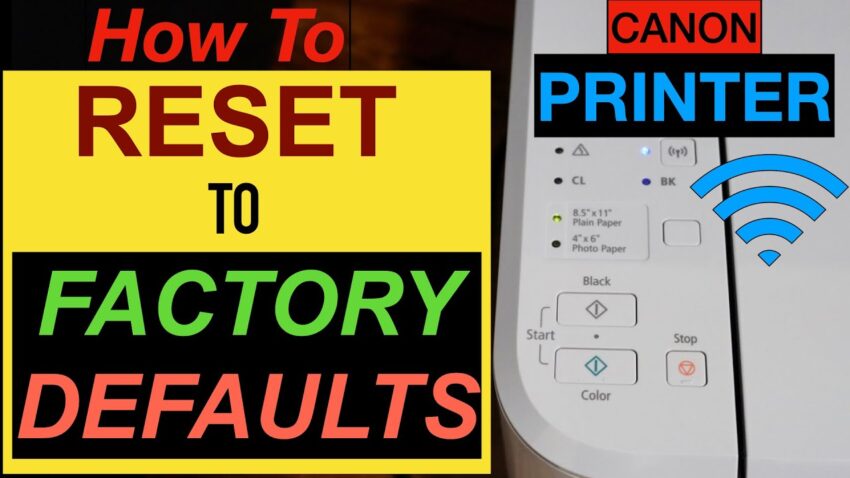
Resetting a Canon printer to its factory settings can resolve various issues, restore default configurations, and eliminate errors. This step-by-step guide provides detailed instructions on how to reset your Canon printer to factory settings, ensuring a smooth and hassle-free process.
Why Reset Your Canon Printer to Factory Settings?
Resetting your Canon printer to factory settings can be beneficial when encountering persistent errors, connectivity issues, or settings malfunctions. It’s an effective way to return the printer to its original state, resolving many operational problems.
Step 1: Preparation Before Reset
Before initiating the reset process, ensure your Canon printer is turned on and in a ready state. Take note of any personalized settings or configurations that you might want to reconfigure after the reset.
Step 2: Accessing the Printer Menu
Navigate through your Canon printer’s menu or control panel to find the “Settings” or “Setup” option. Look for the “Device Settings” or “Reset Settings” submenu, where the factory reset option is typically located.
Step 3: Initiating the Factory Reset
Within the “Device Settings” or “Reset Settings” menu, locate and select the “Factory Reset” or “Reset Printer” option. Confirm your choice when prompted, acknowledging that this action will reset the printer to its original factory settings.
Step 4: Executing the Reset
Once confirmed, the Canon printer will begin the reset process. This may take a few minutes, during which the printer will restart and restore default settings. Avoid interrupting this process to prevent potential complications.
Step 5: Verifying the Reset
After the reset is complete, the printer will restart, displaying initial setup prompts. This confirms that the Canon printer has been successfully reset to its factory settings.
Step 6: Reconfiguring Settings
Reconfigure any personalized settings, such as Wi-Fi connections, paper settings, or print quality preferences, according to your requirements. Set up the printer as per your preferences now that it’s back to its default state.
Step 7: Testing the Printer
Print a test page or perform a test print to ensure the Canon printer is functioning correctly after the factory reset. This step confirms that the printer is operational and ready for use.
Resetting your Canon printer to factory settings is an effective troubleshooting step to resolve various printer-related issues. By following these detailed instructions, you can successfully reset your Canon printer and restore it to its original factory state.
Troubleshooting Guide: Canon Printer Not Connecting to Wi-Fi
Encountering connectivity issues with your Canon printer can be frustrating, especially when it fails to connect to your Wi-Fi network. In this comprehensive guide, we’ll explore step-by-step solutions to resolve the problem of a Canon printer not connecting to Wi-Fi.
Common Reasons Why Your Canon Printer Won’t Connect to Wi-Fi
Several factors can contribute to a Canon printer’s inability to connect to a Wi-Fi network:
-
Wi-Fi Network Configuration: Incorrect Wi-Fi settings or network configuration issues can hinder the printer’s connection.
-
Printer Settings: Incorrect printer settings or outdated firmware might prevent successful Wi-Fi connectivity.
-
Signal Interference: Signal interference from other devices or physical barriers can disrupt the printer’s connection to the Wi-Fi network.
Troubleshooting Steps to Resolve Canon Printer Wi-Fi Connection Issues
Step 1: Verify Wi-Fi Settings
Ensure that your Wi-Fi network name (SSID) and password are correctly entered into the Canon printer. Check for any typos or incorrect characters.
Step 2: Restart Printer and Router
Turn off both your Canon printer and Wi-Fi router. After a few minutes, power them back on. This simple reset can often resolve temporary connectivity issues.
Step 3: Update Printer Firmware
Check for firmware updates for your Canon printer. Visit the Canon website, enter your printer model, and download the latest firmware. Updating the firmware can address bugs and improve connectivity.
Step 4: Check Signal Strength
Position the printer closer to the Wi-Fi router to ensure a strong and stable signal. Avoid placing the printer near electronic devices that might cause interference.
Step 5: Reset Network Settings
Navigate to the printer’s settings menu and locate the “Network” or “Wireless Setup” option. Choose “Reset Network Settings” or a similar option to clear existing network configurations and set up the connection afresh.
Step 6: Reconnect to Wi-Fi
Follow the printer’s on-screen prompts to reconnect it to the Wi-Fi network. Enter the correct Wi-Fi credentials and confirm the connection.
Resolving connectivity issues when your Canon printer won’t connect to Wi-Fi involves troubleshooting steps that address network configuration, settings, and signal strength. By following these solutions, you can restore seamless Wi-Fi connectivity to your Canon printer